Auto-Population
Now that we have created our Contact class, we can populate it with test data using the Caché auto-population tools. These are available to us because Contact extends %PopulateOpens in a new tab.
Invoke the populate utility from the Terminal. Here are the steps:
-
Launch the Terminal. Do this by clicking the InterSystems Launcher (Caché cube
 , Ensemble icon
  , or HealthShare icon, depending on your system) in your system tray and then clicking Terminal on the launch menu.
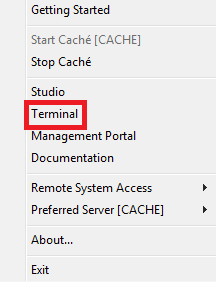
-
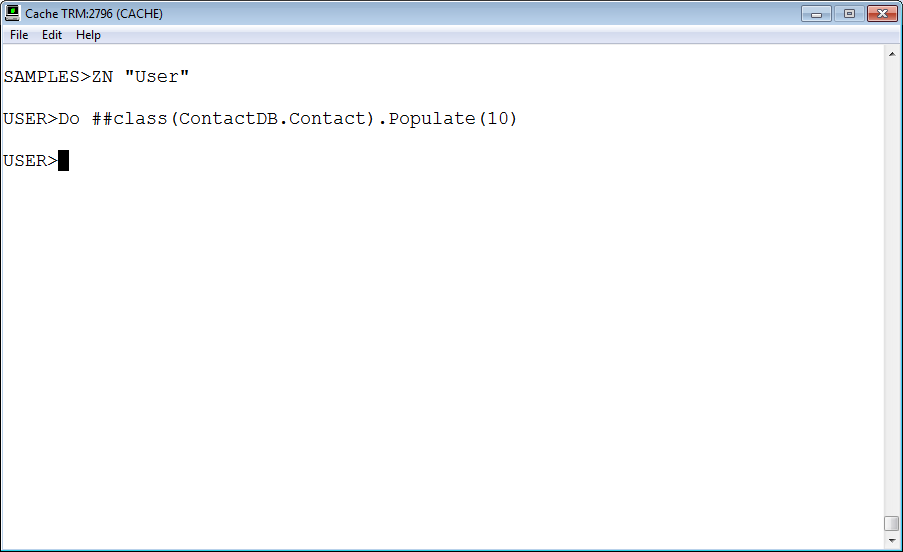
If the terminal is not pointing at the USER namespace, use the ZN command to switch to USER.
SAMPLES>ZN "USER" USER> -
Populate the namespace with ten Contact instances using the following command:
USER>Do ##class(ContactDB.Contact).Populate(10)
Here are the steps displayed in the Terminal:
We can also launch an SQL shell from within terminal to view the newly created data. Here are the steps:
-
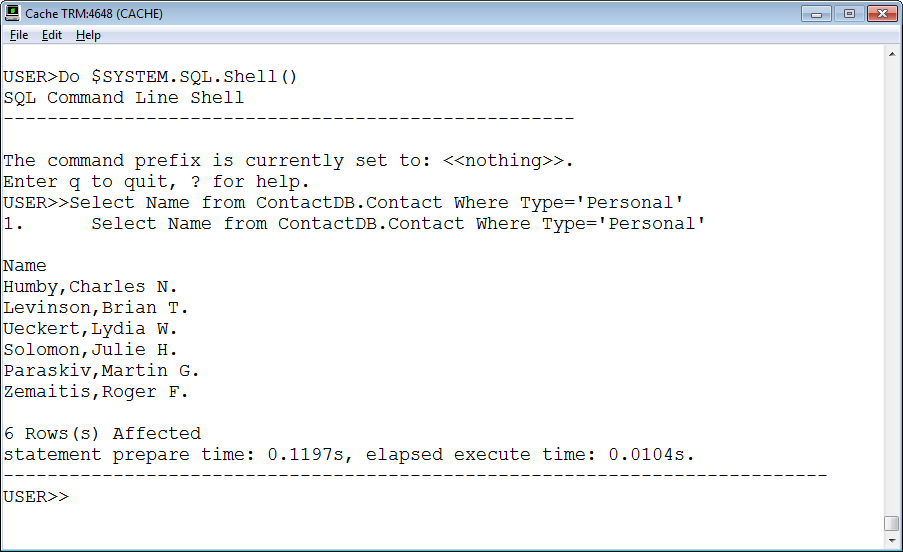
Execute the following command to launch the shell:
USER>Do $SYSTEM.SQL.Shell() -
Next, enter an SQL query:
USER>>SELECT NAME FROM ContactDB.Contact WHERE Type='Personal'
Here are the steps displayed in the Terminal:
To learn more about the Caché auto-population tools, read The Caché Populate Utility in Using Caché Objects.