
Import and Export InterSystems Documents as XML Files
Using the InterSystems® ObjectScript Extensions for VS Code, you can export source code documents from an InterSystems server into an XML file. You can also import source code documents from such an XML file onto an InterSystems server. This feature provides a convenient way to back up a large set of files spanning multiple packages, or to transfer such a set of files between InterSystems servers.
You can use this feature from any saved workspace with an active server connection.
This feature is compatible with the following InterSystems product versions:
-
InterSystems IRIS® and InterSystems IRIS for Health: versions 2023.2 and up
-
HealthShare® Health Connect: version 2024.1 and up
-
Other HealthShare products: version 2024.2 and up
Export Documents as an XML File
To export multiple source code documents from an InterSystems server namespace into a single XML file on your local file system, perform the following steps:
-
From a saved workspace with an active server connection, open the Command Palette and run the ObjectScript: Export Documents to XML File... command.
-
If your workspace consists of multiple folders, use the menu to select the workspace folder connected to the server location from which you want to export documents.
-
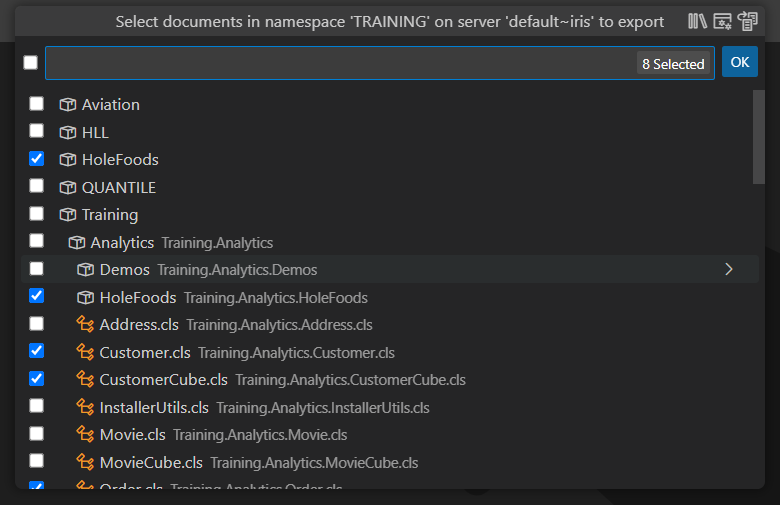
From the menu, select the checkboxes that correspond to the documents you want to export. You can select entire packages, or expand the menu item for a package to select among the documents it contains:
-
Within the Save As window, navigate to the file system location where you want to save the XML file and specify a File name.
-
Select Export.
Functionally, this produces the same result as executing the %SYSTEM.OBJ.Export() method on the target server with the appropriate arguments.
Import Documents from an XML File
To import the contents of one or more XML export files from a local file system location into an InterSystems server namespace, perform the following steps:
If the target namespace contains a source code document with the same name as a document recorded within the XML export file you are importing, the import operation replaces the existing file with the version of the document which the XML file’s version of the document.
-
From a saved workspace with an active server connection, open the Command Palette and run the ObjectScript: Import XML Files... command.
-
If your workspace consists of multiple folders, select the workspace folder connected to the server location to which you want to import documents.
-
Within the Open window, locate and select the XML file (or files) from which you want to import documents.
-
Using the menu, confirm the documents you want to import:
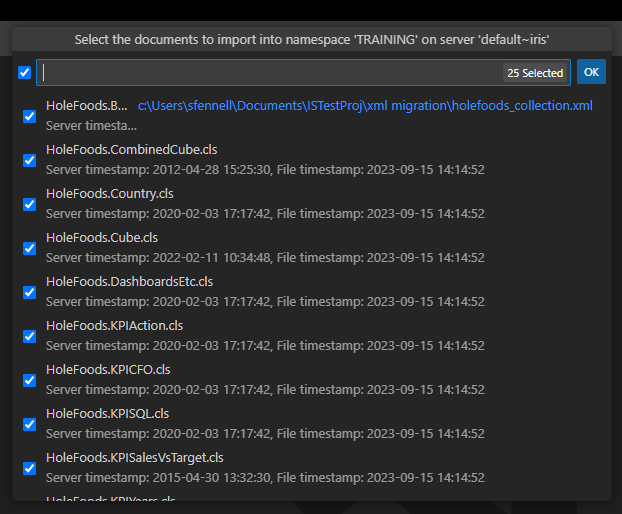
Clear the checkboxes that correspond to documents which you do not want to import, as necessary.
-
Select OK.
-
Once the documents have been imported, a VS Code notification provides you the option to compile them:
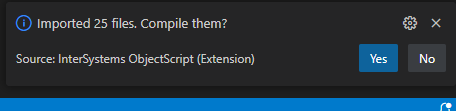
Select Yes to compile the documents. Select No to decline.
Functionally, this produces the same result as executing the %SYSTEM.OBJ.Load() method on the target server with the appropriate arguments.