Adding Properties to a Class
Now add two properties to Contact: Name and Type. Use either the Add Property wizard or enter the property declarations directly in the Editor.
Here are the steps for using the wizard:
-
Click Class–>Add–>Property on the Studio Menu bar to launch the wizard.
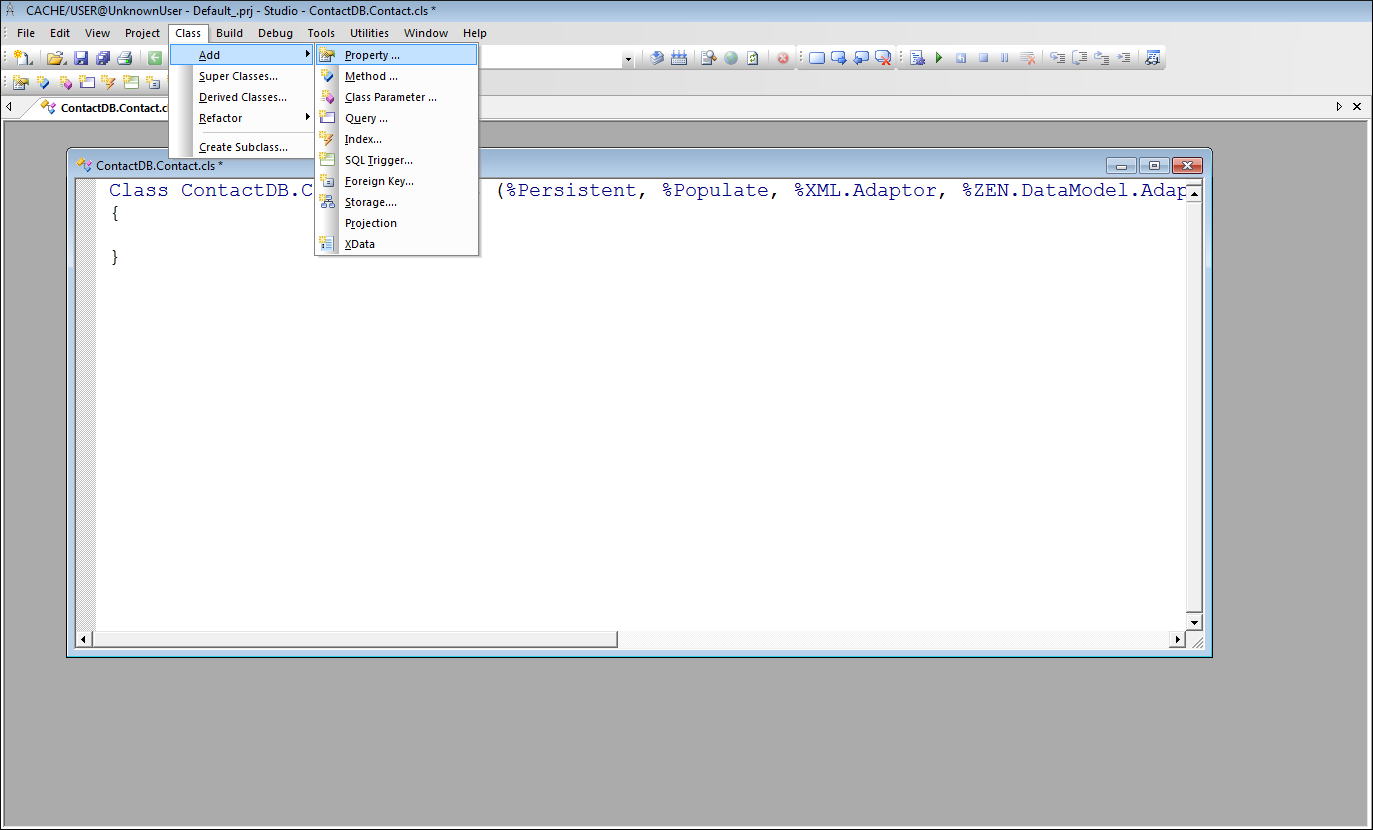
This launches the New Property Wizard:
-
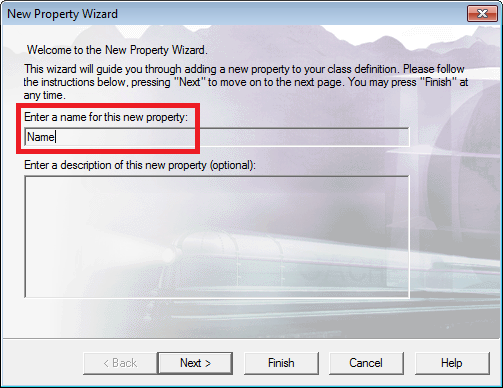
On the Wizard's first screen enter the property name (Name for one, Type for the other) and, if you like, a brief description. The description appears as a comment in the class definition. Click Next.
-
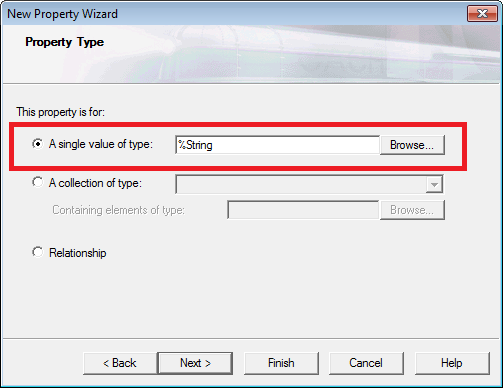
This Wizard's next page allows you to specify the property's type. For both Name and Type enter %String in the A single value of type box. Click Next. This displays the wizard's Property Characteristics screen.
-
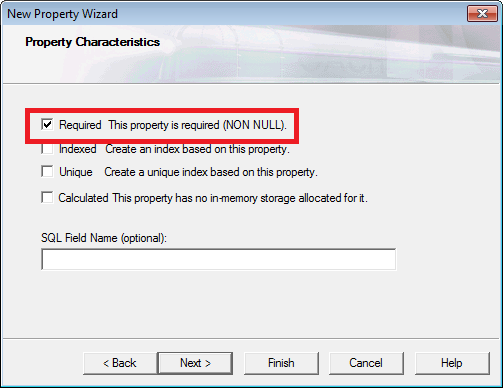
This Wizard's next page allows you to specify various characteristics for the property. For Name, click Required and then click Next. For Type, leave the defaults (no boxes selected). Click Next.
-
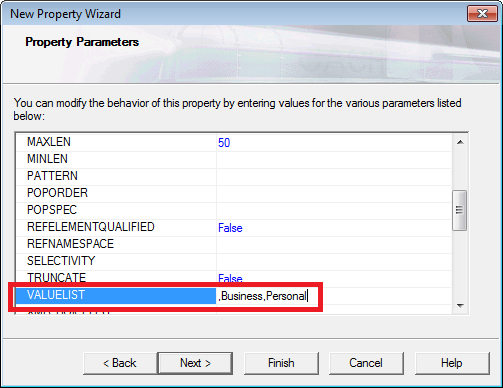
The Wizard's next page allows you specify property parameters.
-
For Name, leave the defaults and click Finish.
-
For Type, set the VALUELIST parameter. Setting this parameter constrains the possible values of Type to those that you list. Enter the following: ,Business,Personal. This constrains Type's values to Business and Personal. Note that placing the comma first informs the compiler that the comma is the delimiter for the list. So, you place a comma, but no space, between "Business" and "Personal". Click Finish.
-
-
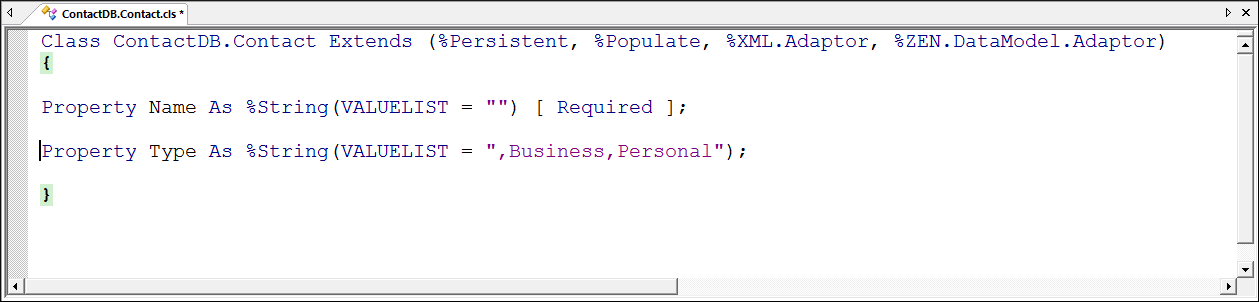
Each time that you finish these steps for a property, the property declaration becomes visible in Studio's Class Editor.
When complete, your class definition looks like the following:
-
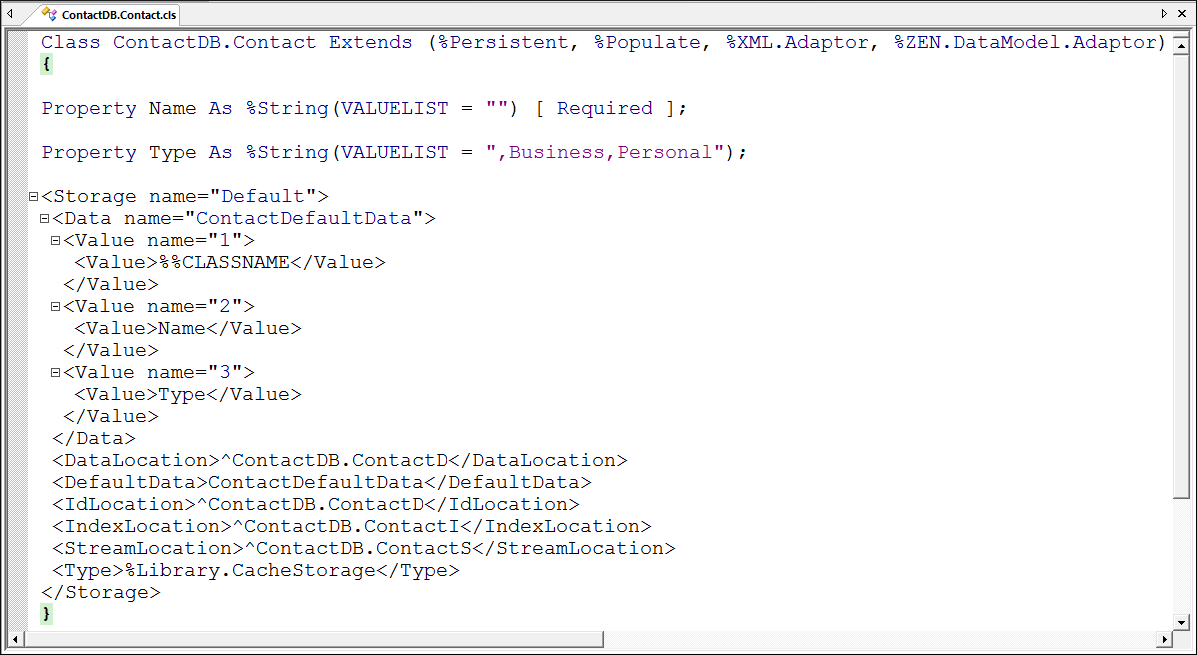
After adding the properties click Build–>Compile on the Studio menu bar to compile the class. After successful compilation, the storage definition for the class will be visible in Studio. The storage definition is section of XML in the class definition. It defines the mechanism that Caché will use to store and load instances of the class to and from the database. The class definition looks like this
To learn more about defining literal properties and Caché basic data types (%String, %Integer, %Date, and so on), read Defining and Using Literal Properties in Using Caché Objects.
To learn more about storage definitions, read Storage Definitions and Storage Classes in the Defining Persistent Object Classes section of Using Caché Objects