Creating Proxy Classes using the Wizard: Part 1
In order to communicate with a Web Service producer, a Caché Web Service consumer requires proxy classes for the producer. These proxy classes are generated according to the specifications of the Web Service producer's WSDL document. Using the WSDL document, the Caché Web Services Client Wizard automatically generates the proxy classes.
Complete the following steps to use the Caché Web Services Client Wizard to create a Caché client for the example Web Services Producer application:
-
Open Studio. Change to a namespace different from the namespace in which example producer application is installed, for example, the SAMPLES namespace. This helps to simulate remote communication between the producer and consumer.
-
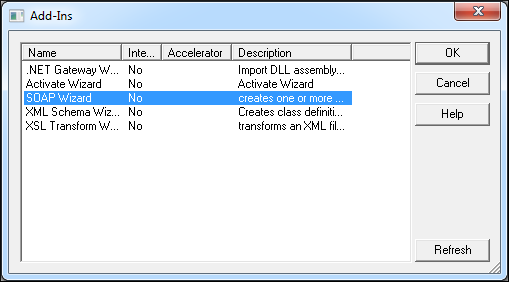
Click Tools —> Add-Ins —> Add-Ins. This displays the Add-Ins list. Click SOAP Client Wizard and then click OK.

-
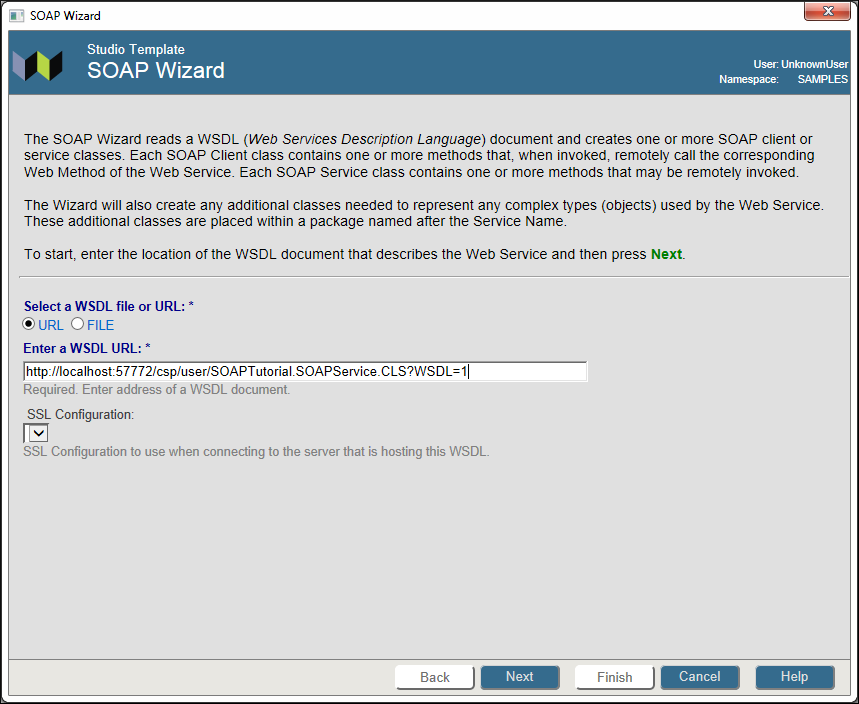
On the first SOAP Client Wizard screen do the following:
-
Click URL for the Select a WSDL File or URL option.
-
Enter the URL for the example producer application's WSDL in the Enter a WSDL URL: box. The URL is http://localhost:<port>/csp/<server namespace>/SOAPTutorial.SOAPService.cls?WSDL=1 where <server namespace> is the Caché namespace in which the application is installed and <port> is the Web server port for the Caché instance.
You can determine the Web server port for your Caché instance by clicking the About link in the upper left of the Management Portal.
-
Click Next.
-
-
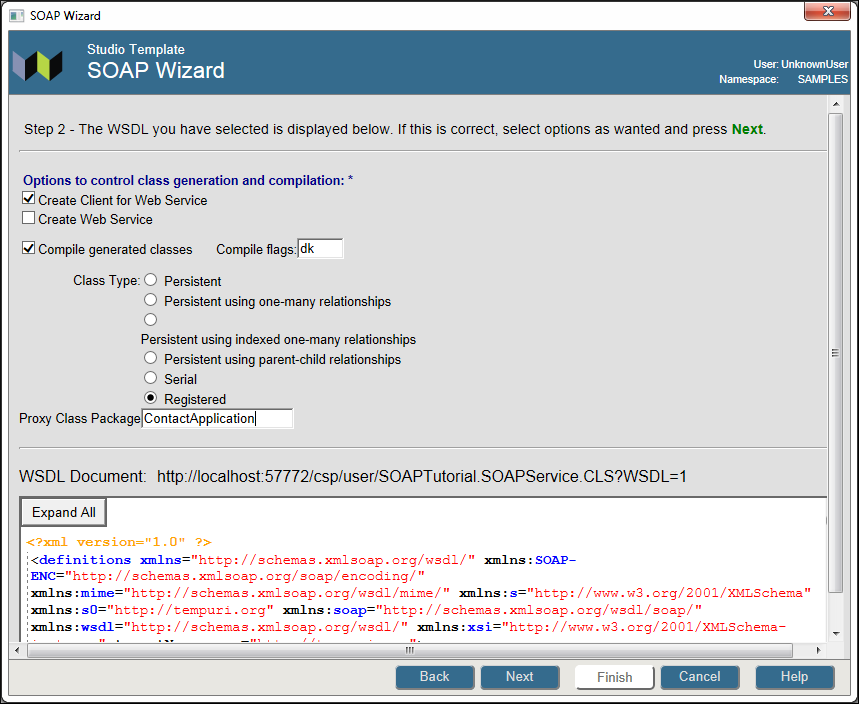
The SOAP Client Wizard displays the WSDL document for the example producer application. Enter the following under the Options to control class generation heading:
-
Click Create Client for Web Service.
-
Click Compile generated classes.
-
Class Type Registered.
-
Proxy Class Package ContactApplication.
Click Next.

-
-
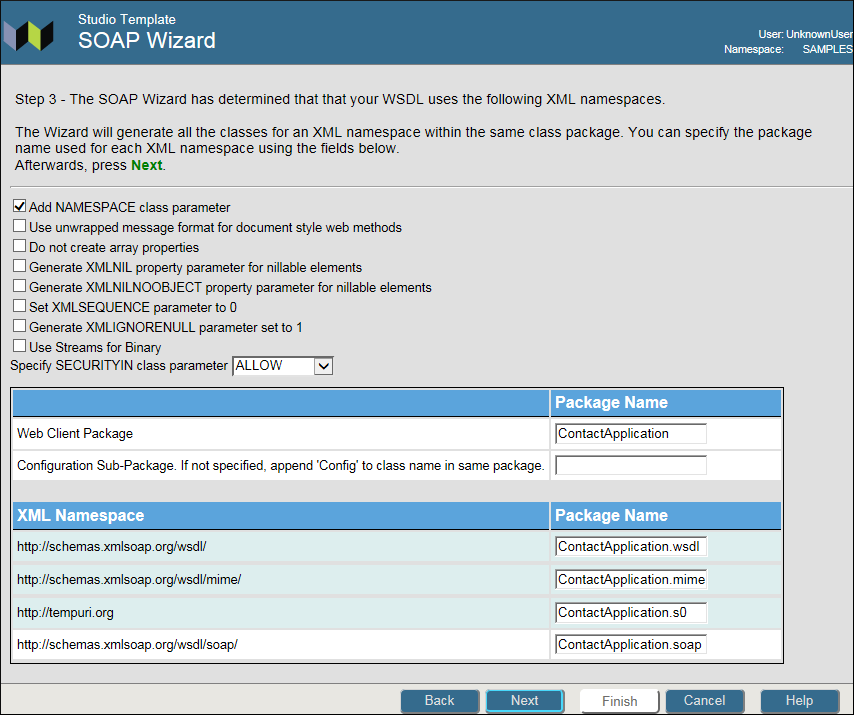
The SOAP Client Wizard displays the package names for the different sets of proxy classes that it generates. Click Next to accept the default values.

To learn more about using the SOAP Client Wizard, read Using the SOAP Client Wizard in the Creating Web Clients section of Creating Web Services and Web Clients in Caché.
If the CSP application containing the Web Service is password protected, then you must add a valid Caché user name and password to the WSDL url. Do this by appending &CacheUserName=<user name>&CachePassword=<password> to the WSDL url.