Generating .NET Proxy Classes
Here are the steps for generating the proxy classes.
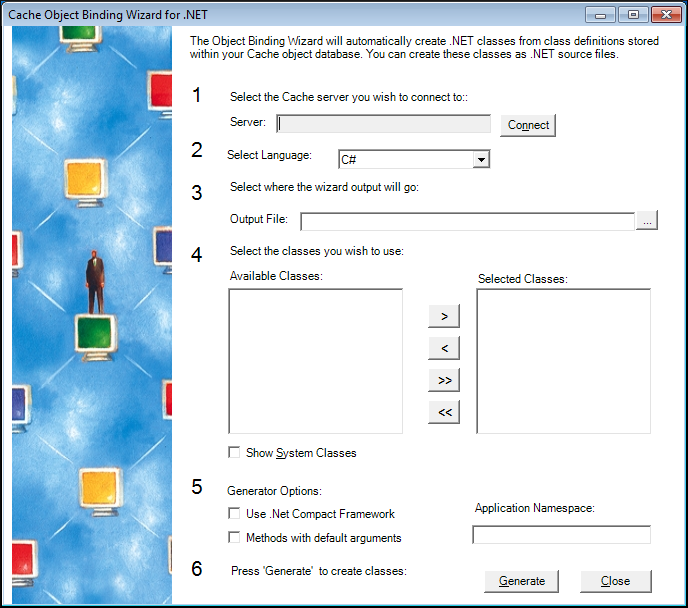
Use CacheNetWizard.exe to generate .NET proxy classes. The wizard is in <cachesys>\Dev\dotnet\bin. Note that after generating the proxy classes, you must add them to your Visual Studio project. To do this click Project–>Add Existing Item... in Visual Studio.
-
Launch the wizard by double clicking the icon.
-
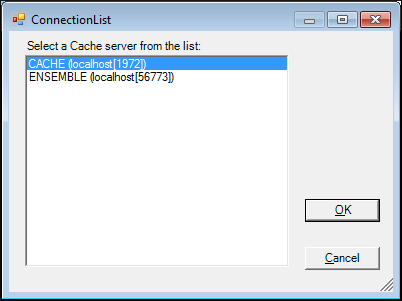
Click Connect. Next, click the name of your Caché instance on the list displayed by the ConnectionList dialog box.
-
Click OK. Next, click the name of the Caché namespace on the Caché Connection Manager dialog.

-
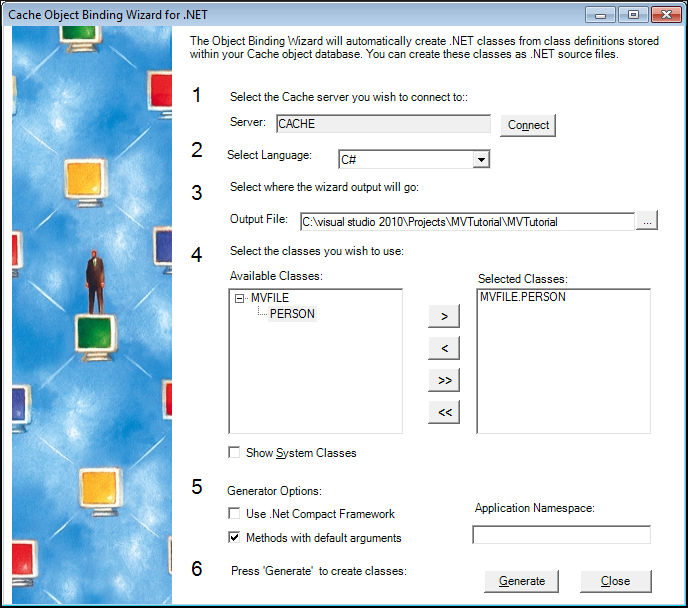
Click OK. On the main dialog page, enter the following:
-
Server – Note that you alread entered this at step 1.
-
Click Source Files to generate source files for the proxy classes. Or, click Assembly to generate a DLL. Select a language: C# or VB.NET. Click Include Subclasses.
-
Enter a name, for example, Person.cs or Person.dll and destination for the generated file. If you generate a source file, choose the top level of your project folder as the location. If you generate a DLL, choose the bin\debug or bin\release depending on your project configuration.
-
Click the name of the Caché class on the Available Classes: list. Click the > button. The name of the selected class appears on the Selected Classes: list.
-
Click Methods with default arguments.
-
Finally, Click Generate.
-
For more information on generating proxy classes, read Generating Caché Proxy Classes in the Using Caché Proxy Classes section of Using the Caché Managed Provider for .NET.