Creating a New Class
Begin by creating the Contact class using the Studio New Class Wizard:
-
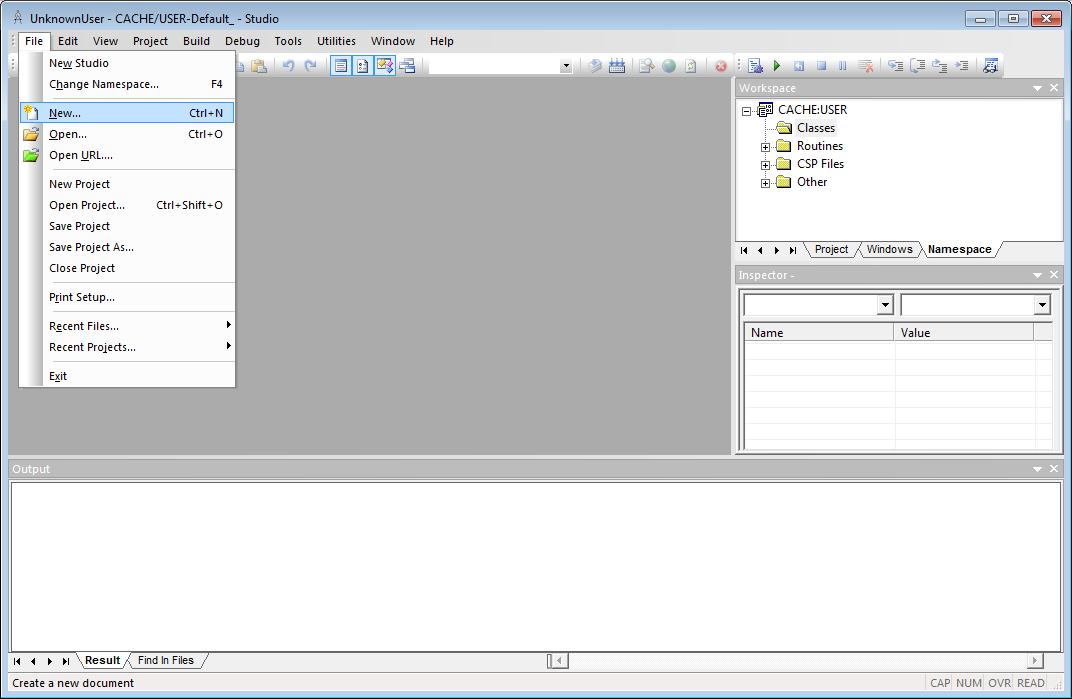
Click File–>New on the Studio menu bar.
-
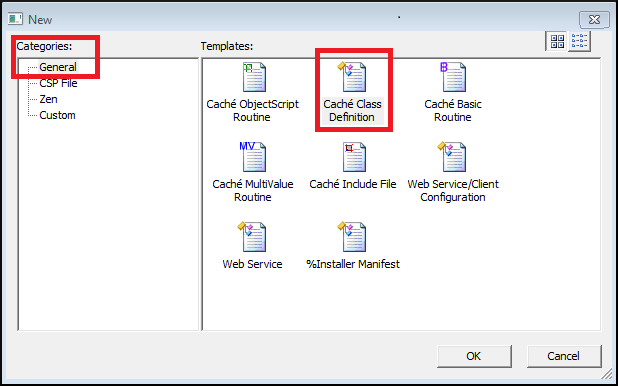
On the New dialog, click the General category and then the Caché Class Definition template. Click OK. This launches the New Class Wizard.
-
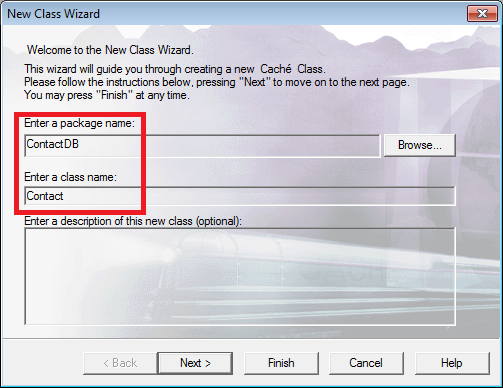
On the first page of the New Class Wizard , enter ContactDB for the Package Name and Contact for the Class Name. Click Next.
-
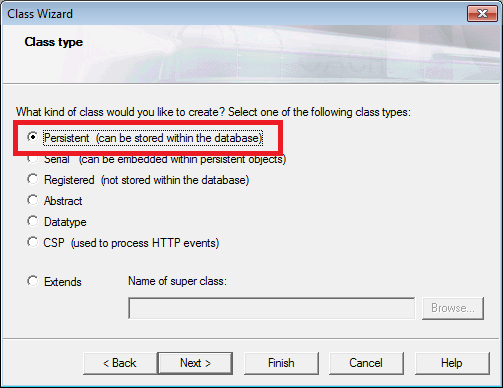
The Wizard's second page allows you to select the class type. Click Persistent and then click Next.
-
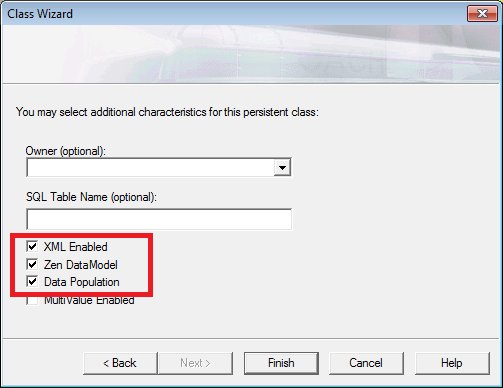
The Wizard's third page allows you to specify additional characteristics for the class. Click XML Enabled, Zen DataModel, and Data Population. Click Finish.
-
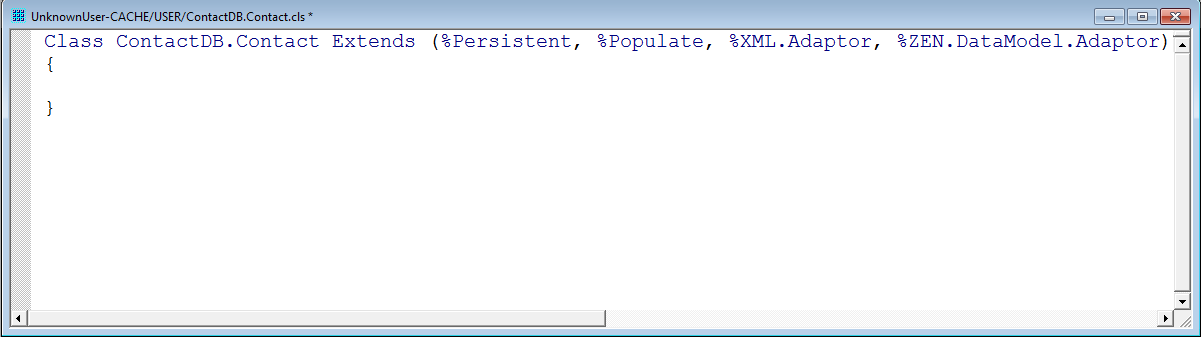
The Studio Editor displays the newly created class definition:
-
Notice that Contact extends several classes:
-
%PersistentOpens in a new tab—We chose this when we selected the class type at step 4. Extending %PersistentOpens in a new tab allows instances of our Contact class to be saved in the database.
-
%PopulateOpens in a new tab—We chose this when we selected additional characteristics at step 5. Extending %PopulateOpens in a new tab allows Contact to use the Caché auto-population features for generating test data.
-
%XML.AdaptorOpens in a new tab—We chose this when we selected additional characteristics at step 5. Extending %XML.AdaptorOpens in a new tab allows Contact to be used with Caché's XML tools. For example, we can export Contact instances as XML and use Contact in Web Services scenarios. We will not be using these features in this tutorial.
-
%ZEN.DataModel.AdaptorOpens in a new tab—We chose this when we selected additional characteristics at step 5. Extending %ZEN.DataModel.AdaptorOpens in a new tab allows Contact to interact easily with the ZEN web framework. In particular, it allows us to easily create Zen forms for creating and updating Contact instances.
-
To learn more about Caché XML tools, read Using Caché XML Tools.
%ZEN.DataModel.AdaptorOpens in a new tab is part of the Zen MVC (Model-View-Controller) framework. To learn more about Zen MVC, read Model View Controller in Using Zen Components.