Sample CSP Page
Complete the following steps to use the Studio CSP Wizard to create a CSP page named MySamplePage.CSP. Throughout the remainder of Part I of this tutorial, you will use MySamplePage.CSP to try out a variety of CSP elements and features.
-
Open Studio in the USER namespace. If Studio does not open in USER, then click File —> Change Namespace to connect to USER.
-
On the Studio menu bar, click File —> New.
-
Click the CSP File category on the New wizard.
-
Double click the Caché Server Page icon. Studio displays a new CSP mark-up page. The page contains the basic structure of an HTML page including <html></html>, <head></head>, and <body></body> tags.
-
Add some text and an HTML formatting tag between the <body></body> tags currently in the page. The Wizard automatically places the text "My Page Body" here. Delete this text so that it does not appear in the output.
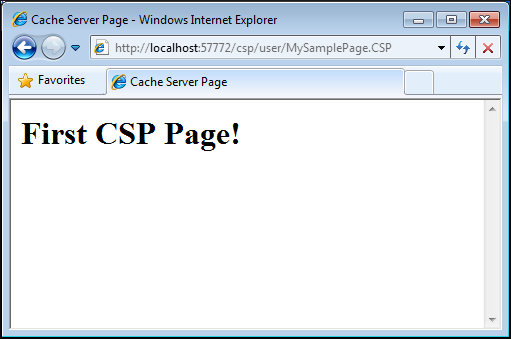
... <body> <h1>First CSP Page!</h1> </body> ... -
To save and name the file click File —> Save As. Name the file MySamplePage.CSP. Be sure to save the file in CSP/USER. This is the default, if Studio is connected to the USER namespace.
-
Click View —> Web Page to view MySamplePage.CSP in a Web browser.

The CSP Compiler places all text and HTML between the <body></body> tags in the CSP mark-up page into Write statements in the onPageBody method of the corresponding CSP page class.