Example Two: Zen
In this example you experiment with Unauthenticated, Password, and Cascading authentication using a Zen application. Note that the steps for setting the authentication mechanisms for a non-Zen CSP application are identical to the steps shown in the example.
To get started we first need to load the example Zen application into Caché. Please load it into the USER namespace. See the note below for instructions. The application consists of four classes:
-
SecurityTutorial.Application — The Zen application definition.
-
SecurityTutorial.HomePage — The Zen page that we will be providing security for.
-
SecurityTutorial.LogIn — The custom log in page for the application.
-
SecurityTutorial.CreateDelegatedUsers — A Zen page for creating “delegated users” in Caché. This page is used in a later example in the tutorial.
Now configure the application to use Unauthenticated access:
-
Open the Web Applications page of the portal (click [Home] > [System Administration] > [Security] > [Web Applications]).
-
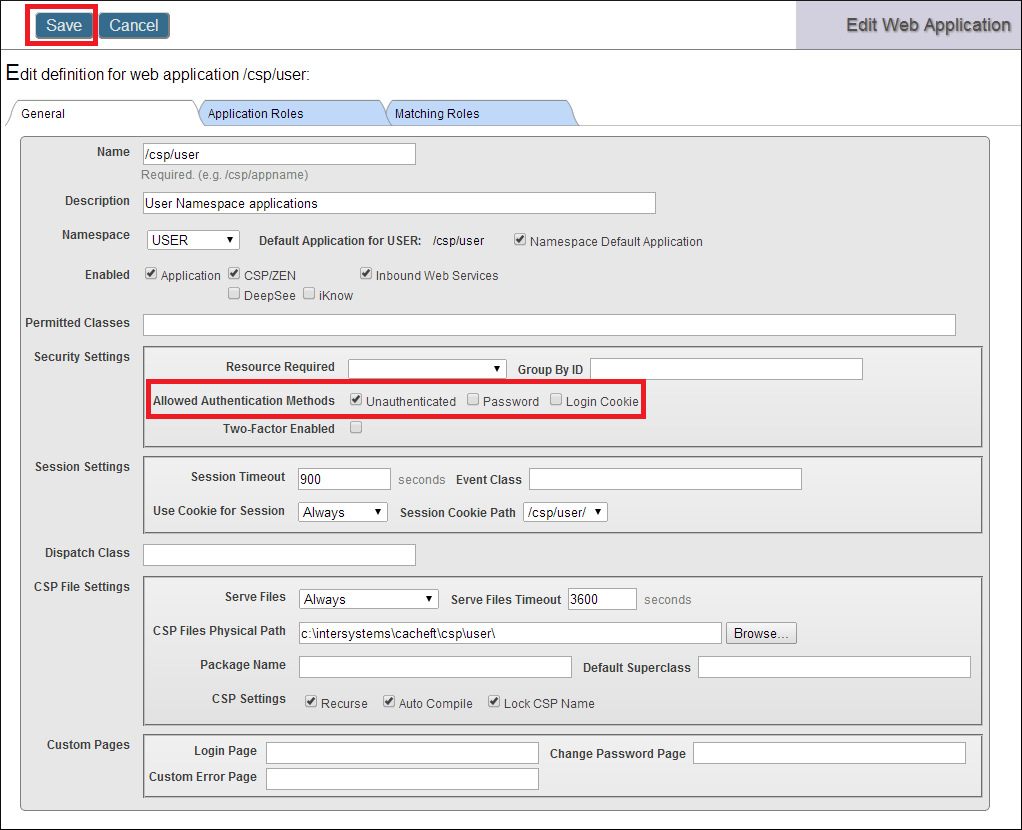
Click Edit for the /csp/user application.
-
For Allowed Authentication Methods click Unauthenticated. Verify that no other authentication mechanism is selected. Click Save.

Next, open SecurityTutorial.HomePage in a Web browser:
-
Open SecurityTutorial.HomePage in Studio.
-
Close any browsers that you have open, so we know they won't be able to cache any security information. On the Studio Menu Bar click View–>Web Page.
-
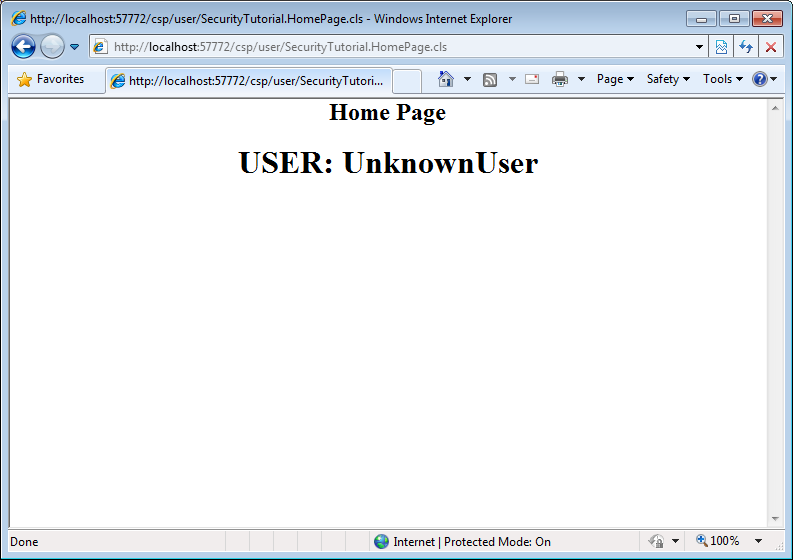
The page opens in your default Web browser:

Since we selected Unauthenticated for the authentication mechanism, we access the page through the UnknownUser account.
Close your browser before moving on to the next Web-based example. Depending on its settings, the browser might cache security information, which is likely to interfere with the next example.
The application is in install-dir\Dev\tutorials\security\Zen_Authenticate.xml. In a standard Caché installation, install-dir is in C:\InterSystems\Cache. Import the application files using Terminal. Importing Code Using Terminal contains instructions. This example assumes that you have installed Caché using minimal security.