Introducing InterSystems Security
InterSystems IRIS® data platform provides a simple, unified security architecture with the following features:
-
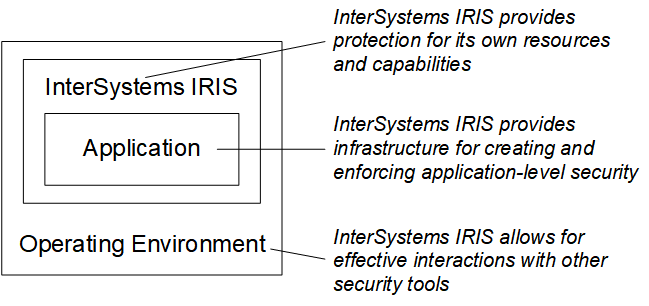
It provides a security infrastructure that makes it easy for developers to build strong, high-performance security features into applications.
-
It places a minimal burden on performance and operations.
-
It ensures that InterSystems IRIS can operate effectively as part of a secure environment and that other applications and InterSystems IRIS can seamlessly work together.
-
It provides infrastructure for policy management and enforcement.
InterSystems security has a number of major features and supports popular technologies:
-
System security provides tools to protect and harden instance-level security.
-
Auditing keeps a log of predefined system and application-specific events.
-
Authentication verifies the identity of all users.
-
Authorization ensures that users can access the resources that they need, and no others.
-
Encryption protects stored data from unauthorized access.
-
TLS (the Transport Layer Security protocol) creates protected channels for communications and data transmission.
You can use InterSystems IRIS along with other security products and tools (such as firewalls and the security features of operating systems) as part of a comprehensive solution to secure your computing environment. This is why the security features in InterSystems IRIS are designed to successfully interoperate with those of other products.
InterSystems also recommends that you establish clear, effective, and properly enforced security policies. With technology, policy, and enforcement, you can create a secure and productive environment.