
Specifying Pivot Options
Specifying Pivot Options
The Pivot Options dialog box provides many ways to customize the pivot table. To access this dialog box, click the Pivot Options button  . The Analyzer displays the following:
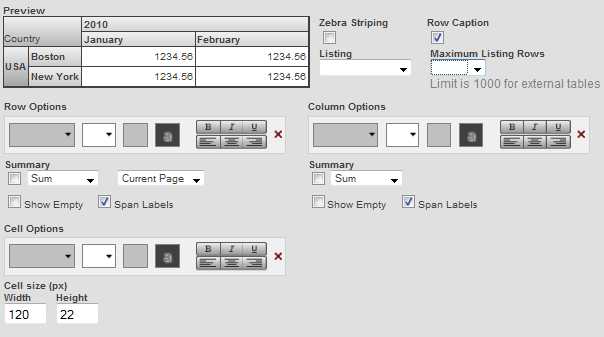
Here you can do the following:
-
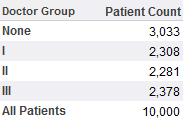
Format the pivot table with zebra stripes. If you select Zebra Striping, the table is formatted with rows in alternating colors as follows:
-
Remove the captions for the rows. To do so, clear Row Caption.
-
Specify which listing to use for this pivot table. To do so, select a listing from the Listing drop-down menu.
-
Specify the maximum number of records to include in listings for this pivot table. To do so, specify a value for Maximum Listing Rows. The default is 1000.
-
Apply custom colors and font styles. To do so, use the drop-downs in Row Options, Column Options, or Cell Options. For example:

This style definition specifies that the font is in 12 pt, blue Verdana on a pale green background. The text is also bold and center-aligned.
If you specify a custom color for the cell background in Cell Options, the system ignores the Zebra Striping option.
-
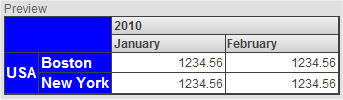
Use the Span Labels options to control whether labels are spanned.
When you display the table in a nested format, the labels are spanned by default. For example:
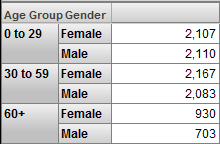
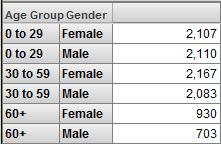
You can instead repeat the relevant labels, as follows:
-
Use the Show Empty options to control whether empty rows and columns are displayed.
-
Control the size of the data cells. To do so, type the width in pixels into Width and the height in pixels into Height.
As you make changes, the Preview area is updated to demonstrate the changes. For example:
If you have enabled the %SQLRESTRICT dimension for a cube, you will see the SQL Restriction field. If you wish to apply an SQL Restriction for the current pivot table, enter a valid SQL SELECT statement or WHERE clause. For more information, see %FILTER Clause.